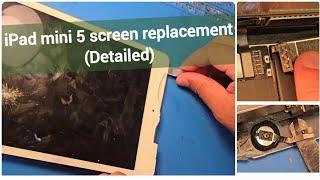
How to Perform an iPad Mini 5 Screen Replacement: A Step-by-Step Guide
If you're looking at a cracked or unresponsive display on your tablet, you may be considering an iPad Mini 5 screen replacement. While this repair requires patience and a steady hand, it is absolutely possible for a skilled DIY enthusiast with the right tools. This guide will walk you through the entire process, from preparation to reassembly.
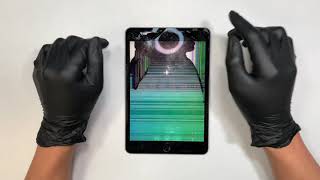
Please watch this entire video before attempting this repair yourself. Familiarizing yourself with each step beforehand is crucial for a successful outcome and to avoid damaging internal components.
Before You Begin: Preparation is Key
A successful repair starts long before you pick up a tool. Here’s what you need to have ready:
- The Replacement Screen: Ensure you have a high-quality, compatible iPad Mini 5 (A2133, A2124, A2126, A2125) display assembly. This typically includes the LCD, digitizer, and frame.
- Essential Tools: You will need a precision screwdriver set, a plastic opening tool or spudger, a suction cup, a hairdryer or heat gun, and thin metal pry tools (like an iSesamo). Anti-static wrist straps are also recommended.
- Work Area: Use a clean, well-lit, and organized workspace. A magnetic mat can be invaluable for keeping track of the tiny screws.
Safety First: Critical Precautions
Before you begin, power down your iPad completely. Working on a live device is dangerous for both you and the hardware.
Heat is your primary tool. The iPad’s screen is secured with strong adhesive. Applying gentle, even heat from a hairdryer around the edges will soften this adhesive, making separation possible without cracking the glass further. However, be careful not to overheat, as excessive heat can damage the LCD or internal battery.
Step-by-Step Replacement Guide
In this video, I'll show you how to navigate each of these steps carefully. Remember, take your time at every stage.
- Heat and Create an Initial Gap: After heating the edges of the iPad for a few minutes, place the suction cup near the bottom edge, just above the home button. Pull up gently to create a small gap between the screen and the rear housing. Insert your thin plastic opening tool into this gap.
- Separate the Screen: This is the most delicate phase. Slowly slide the opening tool along the edge to slice through the softened adhesive. Work your way around the entire perimeter. Be extremely cautious around the top edge, as the display cables are located there and can be easily severed. The goal is to free the screen assembly but leave it connected at the top.
- Access the Display Connectors: Once the screen is free on three sides, you can carefully lift it up like the cover of a book, keeping the top edge where the cables are