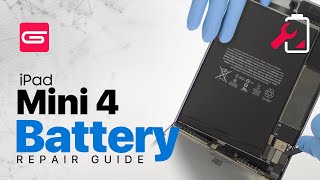
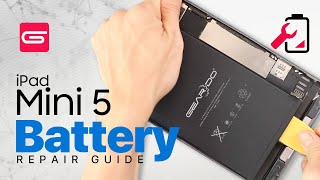
Replacing Battery On iPad Mini: A Complete DIY Guide
If your iPad Mini is running out of juice faster than usual, a battery replacement can bring it back to life. While Apple offers official service, many users prefer a cost‑effective, hands‑on approach. This article walks you through the entire process, from gathering tools to testing the new battery, so you can decide whether to tackle the repair yourself or seek professional help.
Why Consider a Battery Replacement?
Over time, lithium‑ion cells lose capacity due to charge cycles and temperature stress. Signs that your iPad Mini needs a new battery include:
- Sudden shutdowns at 20‑30% charge
- Rapid drop from 100% to 50% within a few minutes
- Overheating during normal use
Replacing the battery not only restores runtime but also improves overall performance, because the device can maintain proper voltage levels throughout the day.
What You’ll Need
Before you start, gather the following items. All of them are readily available from reputable suppliers such as PhonePartsUSA:
- Compatible iPad Mini battery – ensure it matches your model (iPad Mini 1‑4).
- Pentalobe screwdriver (size P2) – for the exterior screws.
- Tri‑point screwdriver (Y000) – to open the internal brackets.
- Spudger or plastic opening tool – to separate the screen without cracking the glass.
- Suction cup – helps lift the display assembly.
- Adhesive strips – replacement glue for the new battery and screen.
- Anti‑static wrist strap – protects the logic board from static discharge.
Step‑by‑Step: Replacing Battery On iPad Mini
Follow these steps carefully. The guide applies to iPad Mini 2, 3, and 4; earlier generations have a slightly different internal layout.
- Power down the device. Press and hold the top button until the slider appears, then slide to turn off. Disconnect all cables.
- Remove the exterior screws. Use the pentalobe screwdriver to take out the two screws at the bottom edge of the iPad.
- Separate the display. Place a suction cup near the bottom edge, gently pull to create a small gap, then insert the spudger. Work the tool along the sides to release the adhesive. Do not force the screen; the adhesive will give gradually.
- Disconnect the battery connector. Once the display is lifted, you’ll see a metal shield covering the battery connector. Remove the tri‑point screws, lift the shield, and use the spudger to pry the battery connector from the logic


![[ASMR] iPad mini 6 Battery Replacement: Which One Lasts 9 Hours of Live Streaming?](https://i.ytimg.com/vi/kgaLwo8QWaI/mqdefault.jpg)


